Official checks before a used-RV purchase
Use these before the deposit becomes emotional. Recalls, tire age, and inspector availability are not cosmetic details.
Pre-arrival checks
Run the VIN and tire checks early
Do this before negotiating around cosmetics. Recalls, tire age, and tire condition can change the first-year budget immediately.
Hire help when structure is unclear
Soft floors, delamination, roof damage, frame clues, or complex motorhome systems are good reasons to pay for an independent inspection.
Start with the failures that change the deal
Used RV shopping gets messy when every issue looks equal. A torn cushion, bad decal, and sticky cabinet are not the same as a soft floor, delaminated wall, bent axle hanger, old tire, leaking slide, or hacked inverter cable. Start with the failures that can turn a good deal into a repair backlog.
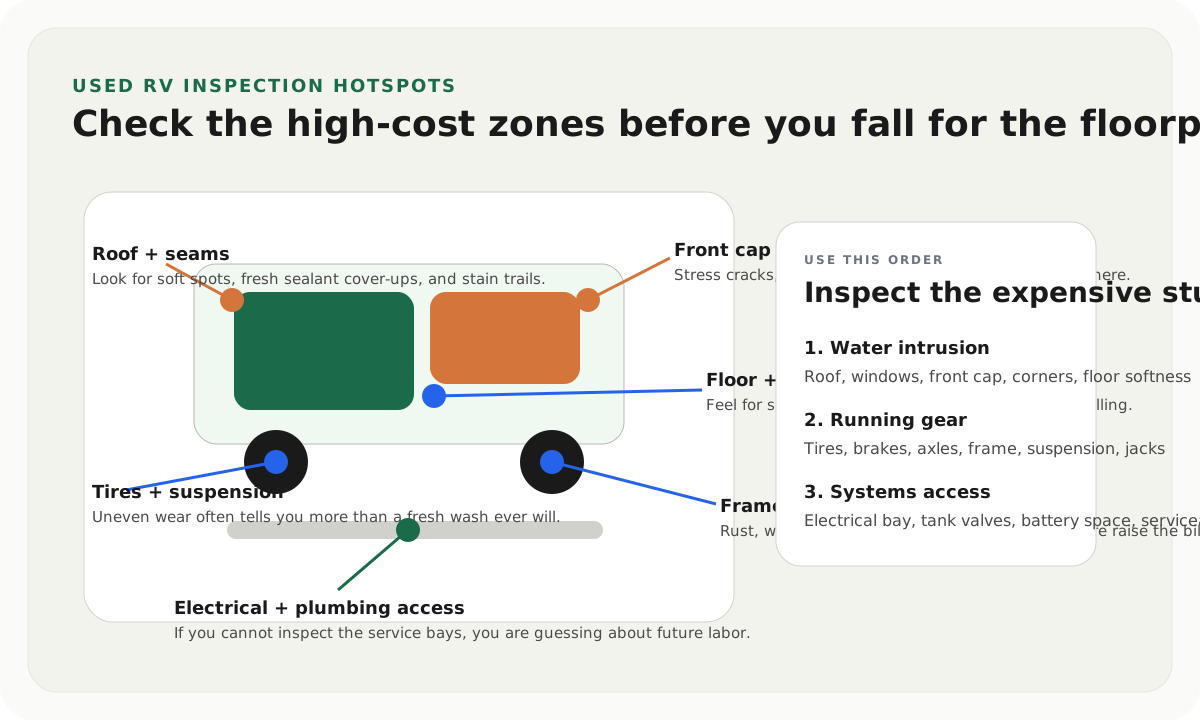
The inspection order should be: water intrusion and structure, frame and running gear, tires and brakes, recalls and title details, electrical and plumbing access, then interior comfort. That order protects you from falling in love with the floorplan before the rig has proven it deserves the rest of your attention.
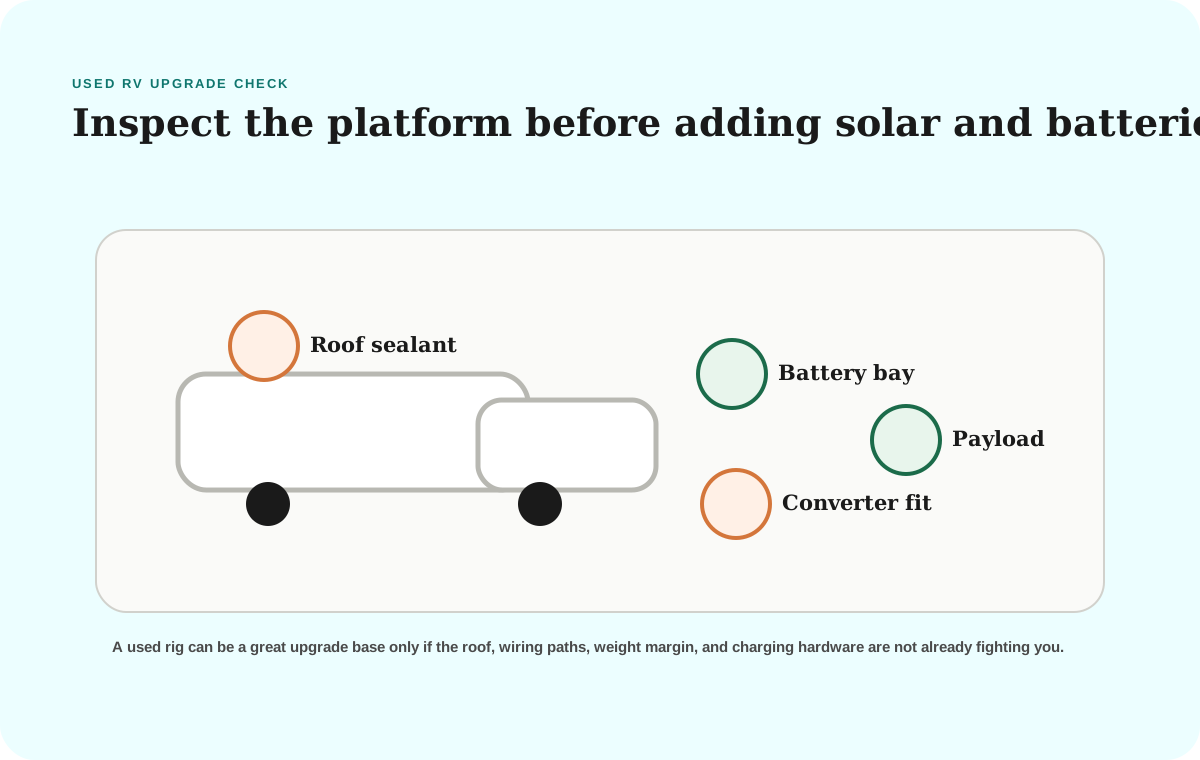
If the listing is for a rig you may later upgrade for boondocking, pair this checklist with the used RV off-grid upgrade checklist. A used RV can be a good platform only if the structure, payload, service access, and electrical foundation are strong enough to support the upgrades.
Where used RV inspections usually go wrong
The biggest mistake is spending too much time admiring the floorplan and not enough time under the rig, on the roof line, and around the service bays.
Most expensive surprise
Water intrusion
Soft floors, delamination, rotten roof decking, and hidden staining can turn a cheap buy into a rebuild.
Most ignored clue
Tires and running gear
Uneven wear, cracked sidewalls, bent hangers, and brake neglect tell you more than shiny interior photos do.
Best honesty test
System access
If batteries, valves, converter, wiring, and plumbing are buried or hacked, ownership gets harder even if the rig looks clean.
The inspection sequence I would follow
Start outside and high. Walk the roof line if it is safe and allowed, or hire someone who can. Look at roof seams, vents, skylights, antenna bases, ladder mounts, awning hardware, front caps, rear caps, and slide roofs. Fresh sealant is not automatically bad, but local fresh sealant around one suspicious corner should make you slow down.
Then go low. Look at tires, date codes, sidewall cracking, uneven wear, axle alignment clues, spring hangers, equalizers, brake wiring, frame rust, underbelly tears, stabilizers, landing gear, and evidence of impact. Tires age out emotionally before they fail visually for many sellers, so verify dates instead of trusting tread depth alone.
Only after that should you move inside. Smell the rig with the windows closed. Look for stains around windows, under cabinets, behind cushions, around slide corners, and near the floor line. Press gently near exterior walls and high-risk corners. Open every access panel you can legally open. A clean-looking rig with no service access can still be a poor ownership choice.
What changes by rig type
Compare
Used RV inspection focus by rig type
Use one comparison matrix to scan the practical differences. Small screens stack each row; wider screens keep the first column pinned.
| Spec | Travel trailer | Fifth wheel | Class A / C motorhome | Toy hauler |
|---|---|---|---|---|
| Water-intrusion hotspots | Front wall, roof seams, slide corners, windows | Front cap, bedroom nose, slide roofs, pass-through doors | Cabover or front cap, roof penetrations, windows, baggage bays | Ramp door seals, rear wall, garage corners, roof seams |
| Running-gear watchouts | Axle alignment, tire wear, bent hangers, brakes | Pin box stress, suspension wear, tire age, leveling gear | Chassis service history, brakes, tire age, suspension, generator behavior | Rear axle loading, ramp hardware, tie-downs, fuel or generator bay |
| System-access priority | Converter, battery box, low-point drains, valves | Pass-through wiring, hydraulics, battery space, underbelly access | House batteries, inverter path, plumbing service points, engine access | Garage power, cargo loading, tanks, generator bay, ramp seal path |
| Most common buying mistake | Buying the layout and ignoring the undercarriage | Chasing full-time comfort without checking cargo and frame condition | Falling for mileage alone and ignoring the house side | Treating the garage as bonus room space without checking insulation and weight |
Travel trailer checklist
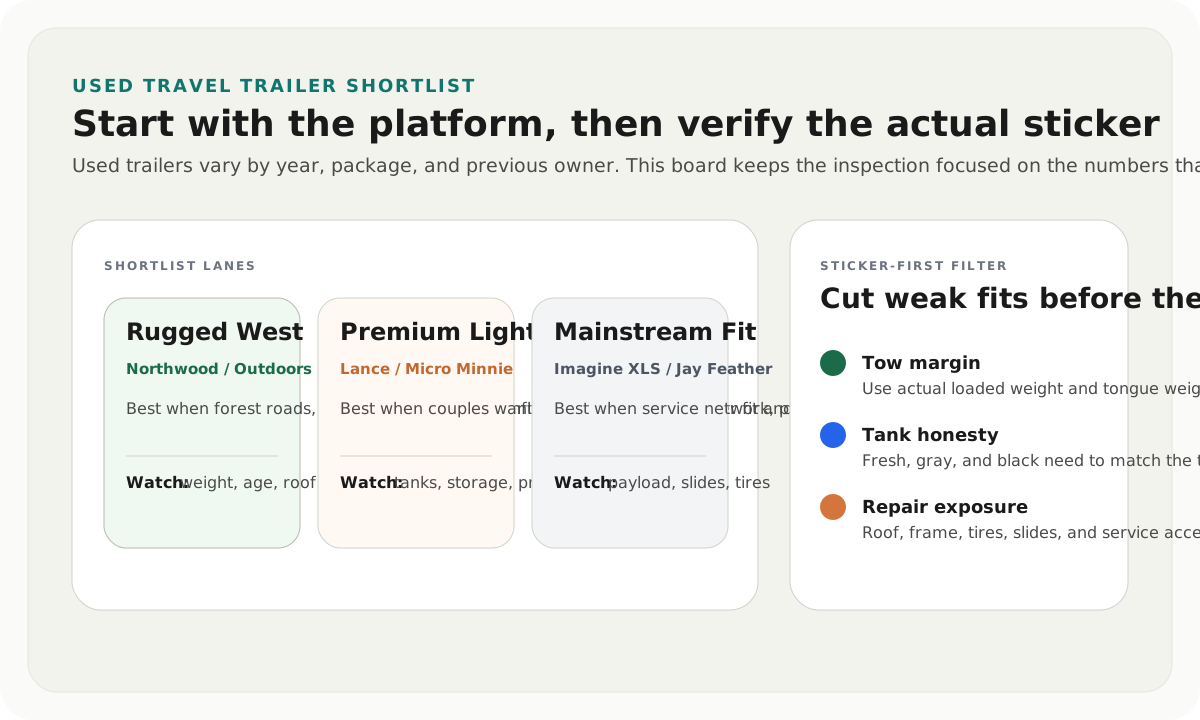
Travel trailers make it easy to fall in love with simplicity, but the running gear and front wall deserve real attention. Check the roof edge, front wall, front lower corners, slide corners, windows, and floor around exterior walls. Look for ripples, soft spots, swollen trim, or a smell that suggests old moisture.
Crawl under the trailer if it is safe. Look for bent hangers, worn equalizers, uneven tire wear, brake wiring that hangs low, underbelly tears, rust patterns, and axle clues. Ask for tire age, not just tread depth. A trailer with old tires, unknown bearings, and questionable brakes may need immediate work before the first trip.
Open the battery box, converter area, low-point drains, and water-pump access. If a basic service item is hard to reach during the inspection, it will still be hard to reach after you own it. If you are still narrowing listings, use the used travel trailer shortlist for boondocking before booking walkthroughs.
Fifth wheel checklist
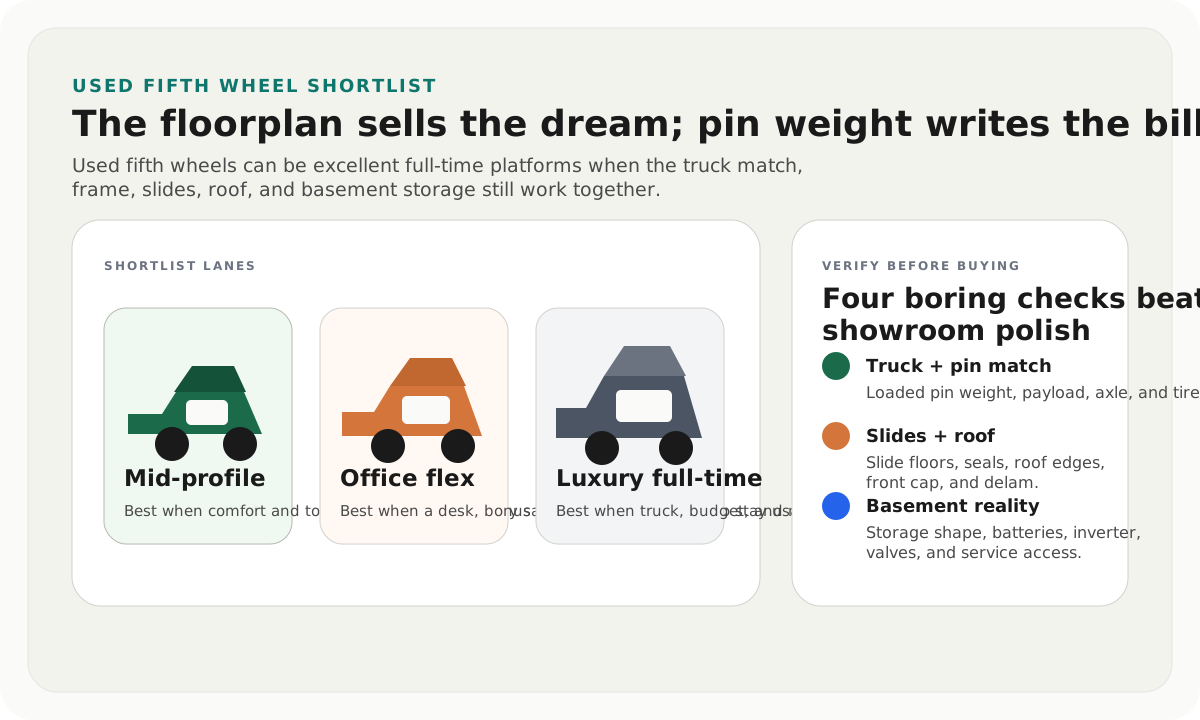
Fifth wheels deserve special attention around the front cap, upper bedroom nose, pin-box area, pass-through storage, slide floors, and leveling gear. Water and stress both like to announce themselves in the front half of the rig. Look for sealant patches, movement around trim, cracked caulk, floor softness near slides, and pass-through storage that smells damp.
Check the cargo carrying capacity sticker and loaded pin-weight reality before you fall for residential furniture. Full-time fifth wheels can carry a lot of life, but they can also run out of payload once tools, water, batteries, solar gear, office equipment, and personal cargo are loaded.
Use the used fifth wheel shortlist to weigh truck match, loaded pin weight, slide floors, roof condition, frame clues, tanks, and basement service access before the living room gets the final vote.
Motorhome checklist
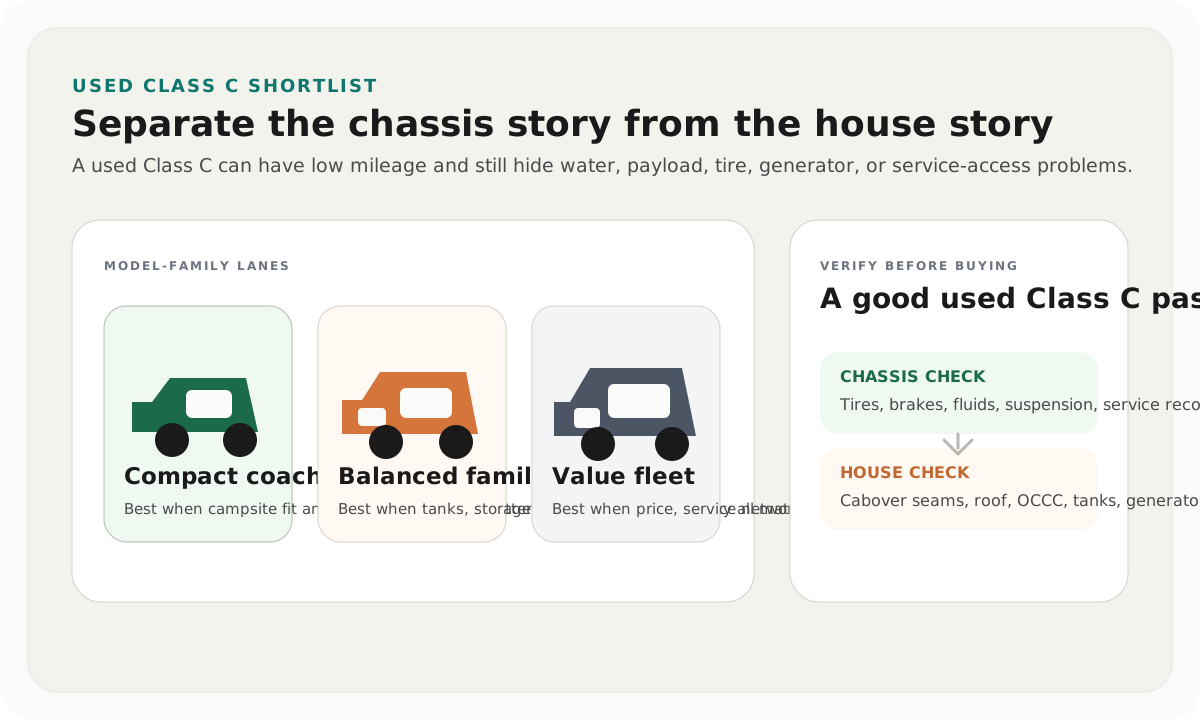
Separate the chassis inspection from the house inspection. A good engine report does not excuse a bad roof. A beautiful interior does not excuse old tires, weak brakes, neglected fluids, or a generator that will not carry load. Motorhomes are two purchases at once: a vehicle and a house.
On Class C rigs, inspect the cabover or front cap carefully because that area is a classic water-intrusion zone. On larger Class A coaches, pay attention to roof penetrations, slide corners, windshield seals, baggage-bay water paths, house batteries, inverter or charger access, generator hours, and whether maintenance records match the story.
If it is a Class C, start with the used Class C motorhome shortlist. If it is a larger Class A, use the used Class A motorhome shortlist so chassis service, tire dates, slides, roof condition, generator behavior, towing plan, and first-year service budget are inspected before the panoramic windshield sells the coach.
Toy hauler checklist
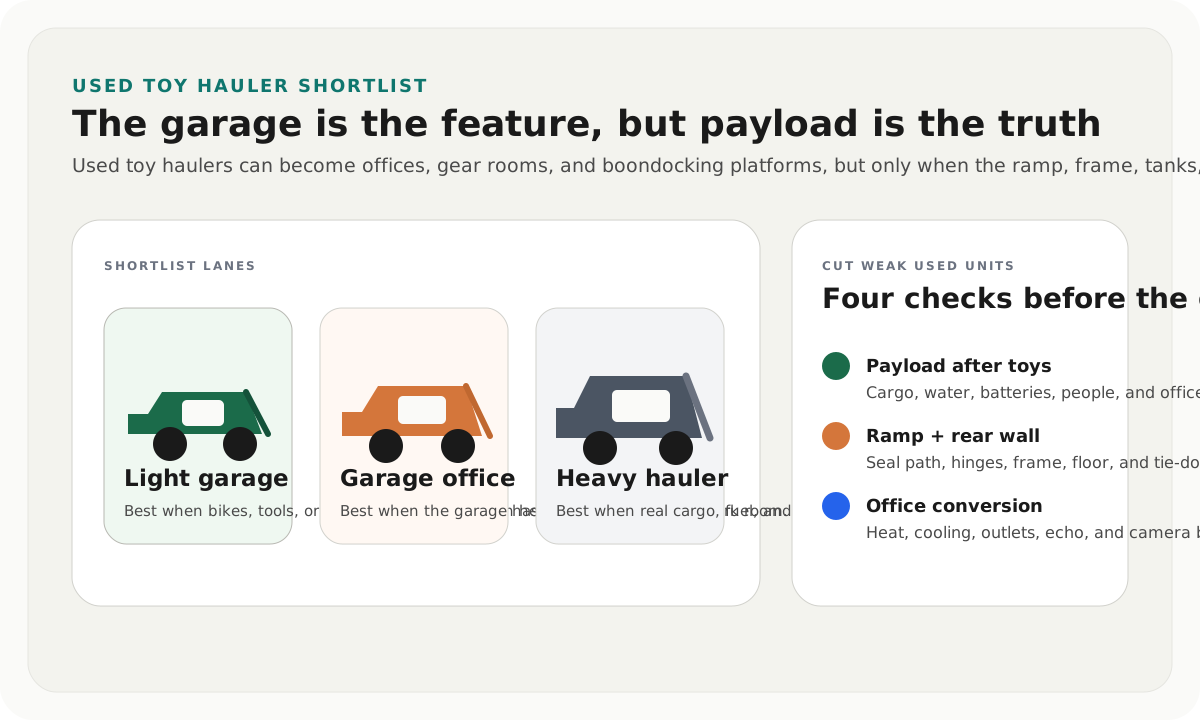
Toy haulers are tempting because the garage feels like free flexibility. It is not free. The ramp door, rear wall, garage floor, tie-down points, fuel system, generator bay, rear seals, and cargo math need extra attention.
Check the ramp door for water paths, soft spots, seal damage, hinge wear, and latch alignment. Inspect garage floor condition and tie-down mounts. Think through what the garage carried before: motorcycles, UTVs, bikes, dogs, tools, or office furniture all leave different clues. Verify payload and axle margin with the cargo you actually plan to carry.
If the used rig is a toy hauler, use the used toy hauler shortlist for boondocking and remote work to weight ramp condition, garage floor structure, cargo math, fuel and generator systems, and office-conversion comfort.
Field note
Field fit note
Used rigs usually tell the truth in the places the camera avoids. Tires, roof edges, pass-through storage, ramp seals, service bays, and underbelly access are where the ownership pattern starts to show itself.
Documents and tests that should happen before money changes hands
Ask for the VIN, title status, maintenance records, appliance manuals, tire date codes, generator hours, recall records, roof reseal history, battery age, and any receipts for major repairs or upgrades. For motorhomes, add chassis service records, fluid history, and a test drive. For towables, verify the weight sticker, cargo capacity, hitch or pin details, and whether the tires match the loaded plan. If the tire size or load range looks marginal for how you intend to load the rig, check it against axle ratings with the tire load calculator before you commit.
Run every major system long enough to learn something. Shore power, converter charging, inverter if present, generator if present, water pump, water heater, furnace, air conditioner, fridge, slides, awning, leveling gear, dump valves, tank sensors, lights, outlets, fans, and propane appliances should not be judged by a seller saying they worked last season.
If the seller will not allow a meaningful inspection, that is information. Some limits are reasonable for liability, but a rushed walkthrough of a complex used RV is how buyers inherit problems they never had a fair chance to see.
When to hire an independent inspector
Hire an independent inspector when the RV is expensive, distant, complex, or outside your skill level. Also hire help when you see soft flooring, delamination, unknown roof repairs, slide damage, frame clues, electrical modifications, generator problems, or a motorhome chassis you cannot evaluate.
An inspection fee can feel annoying when you are excited. It is much cheaper than discovering hidden water damage, unsafe tires, failing brakes, or a hacked electrical bay after the purchase. If the inspection finds nothing serious, you bought confidence. If it finds a deal-breaker, you bought a cheaper lesson.
The cleanest buying rule
Do not ask whether the used RV is charming. Ask whether the structure looks dry, the running gear looks cared for, the recalls and tires are understood, the systems can be serviced, the payload still works after real cargo, and the layout makes sense once the rig is loaded.
That is how a used RV becomes a workable long-term platform instead of a repair backlog with nice upholstery.
Frequently asked
Questions RVers usually ask next.
What is the first thing to inspect on a used RV?
Start with water intrusion. Roof seams, front caps, cabovers, slide corners, windows, storage compartments, and floor edges reveal the most expensive hidden problems.
Is mileage the most important thing on a used motorhome?
No. Mileage matters, but a motorhome is both a chassis and a house. Roof condition, tires, brakes, generator behavior, batteries, slides, plumbing, and electrical work still matter.
How old is too old for used RV tires?
There is no single safe age without inspecting condition, load history, and manufacturer guidance, but tire date codes deserve serious attention. Old or cracked tires should be treated as an immediate first-year cost.
When should I pay for a used RV inspection?
Pay for one when the rig is expensive, distant, complex, or showing signs you cannot confidently evaluate, especially water damage, frame concerns, motorhome chassis questions, or electrical modifications.
Freshness note
Last checked April 21, 2026
This topic can change when products, plans, prices, campsite rules, or fit guidance move. These notes show what was reviewed most recently.
This review included
- Checked NHTSA recall lookup, NHTSA tire-safety resources, NRVIA inspector routing, and RVIA consumer resources for pre-purchase inspection context.
- Expanded the checklist with a source-backed inspection sequence, rig-type red flags, documentation checks, test-drive notes, and when-to-hire guidance.
Recent change log
April 21, 2026
Added official-resource checks, a stronger inspection sequence, VIN and tire routing, rig-type red flags, and more detailed pre-purchase decision rules.
April 17, 2026
Published used RV inspection checklist with verified inspection criteria by rig type.
Broader editorial corrections are tracked on the Corrections and Updates page.